You want to draw—but your lines wobble, proportions feel off, and your sketches look flat. Frustrating, right? You’ve watched a dozen YouTube tutorials, bought expensive pencils, maybe even signed up for a class… yet your progress stalls. The issue isn’t talent. It’s that most “beginner” advice skips the real foundation—the raw, unglamorous mechanics that turn shaky scribbles into confident sketches. Let’s fix that.
Why Most Beginners Fail at the basics of drawing and sketching
They start with complex subjects—faces, hands, full figures—before mastering control over their own hand. Worse, they’re taught to “draw what they see,” without first learning how to *see* accurately. Your eyes lie. They skip negative space. They flatten depth. And your brain auto-corrects reality into symbols (a “tree” becomes a lollipop shape). Without structured eye-hand coordination drills, you’re just tracing illusions.
And no—buying a $50 “artist-grade” pencil won’t save you.
Step-by-Step Mastery: Building Real Skill, Not Just Hobbies
Forget copying anime or photorealism for now. Build from the ground up—with deliberate, boring exercises that rewire perception.
Train Your Hand First: Line Control Drills
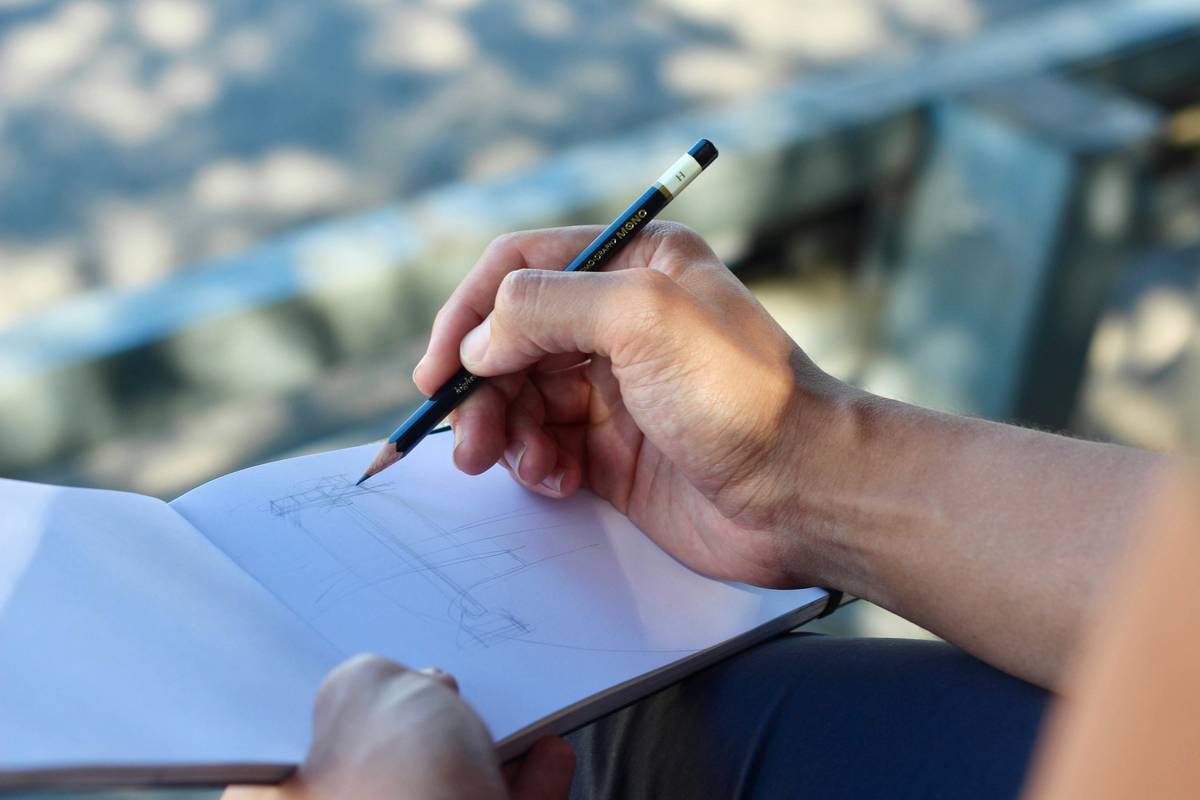
Fill pages with straight lines, ellipses, and S-curves—no erasing. Goal? Consistent weight and direction. Do this daily for one week. Your hand learns muscle memory before your brain overthinks it.
See Like an Artist: Contour & Negative Space
Pick a simple object—a coffee mug, a houseplant. Draw only its outer edges *without looking at your paper*. Sounds weird? It forces your eyes to track slowly, noticing subtle curves instead of defaulting to cartoon symbols. Then flip it: draw the *space around* the object. That empty gap between chair legs? That’s your new subject.
Value Over Detail: The 3-Step Shading Method
Newcomers obsess over texture. Pros obsess over light logic. Block shadows into just three zones: light, mid-tone, dark. Use a 2B pencil and blend with your finger—not for softness, but to force yourself to see transitions as gradients, not hard lines.
| Exercise | Time Required | Tools Needed | Common Mistake |
|---|---|---|---|
| Blind contour drawing | 5–10 mins/day | Pencil + printer paper | Lifting pen too often |
| Value scale (9-step gradient) | 15 mins, 2x/week | HB to 6B pencils | Rushing transitions |
| Gesture sketching (30-second poses) | 10 mins/day | Newsprint pad | Over-rendering details |

The Industry Secret: Professional Sketchers Don’t “Draw”—They Edit
Here’s what art schools won’t tell you: your first mark is never the final one. Elite illustrators and concept artists treat sketches like rough drafts—they layer, erase, and adjust constantly. A clean, confident line isn’t drawn once. It’s the result of five hesitant passes underneath, each refining position and pressure. Stop fearing mistakes. Start treating your page like a whiteboard. The magic happens in the *correction*, not the initial stroke.
That’s why newsprint pads are the real MVPs—not fancy Bristol board.
Frequently Asked Questions
What’s the best pencil for beginners?
Start with an HB—it’s neutral. Avoid 6B+ pencils early; they encourage smudging over precision.
How long does it take to learn the basics of drawing and sketching?
With focused daily practice (20 mins), you’ll see measurable improvement in 3–4 weeks—not months.
Do I need to learn anatomy to sketch well?
Not immediately. Master shapes, angles, and value first. Anatomy builds on those fundamentals—don’t reverse the order.